
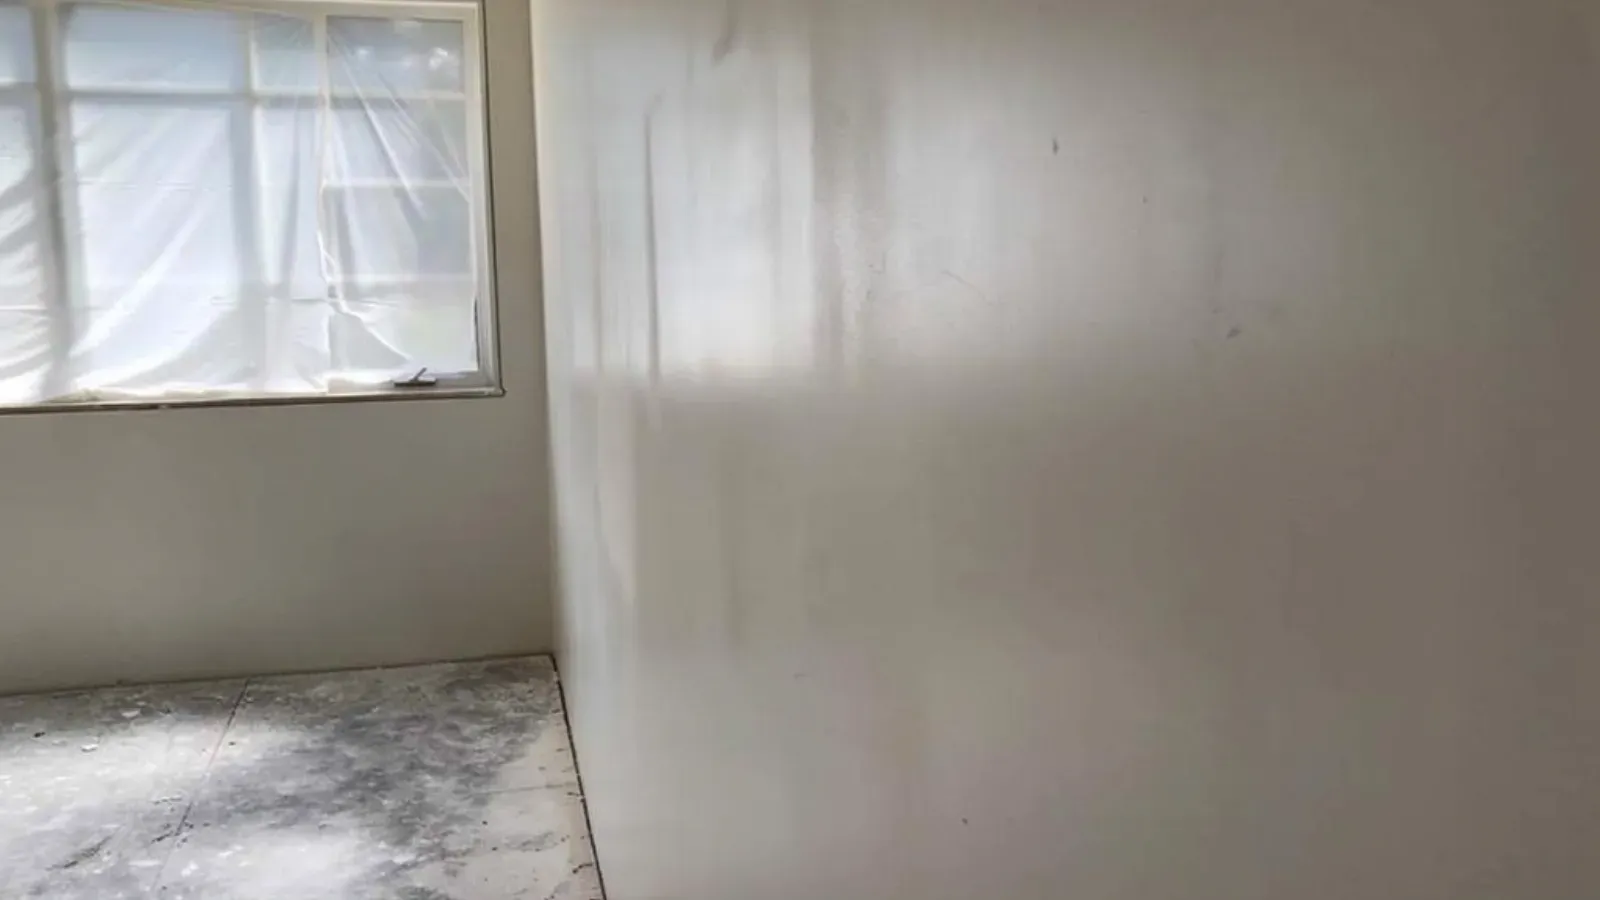
Signs you need this
- • Joint lines, screw dimples, or faint panel seams that flash or show through under raking light from a window or a new recessed fixture.
- • Old plaster walls in a Wyoma or Pine Hill two-family that are wavy, rippled, or covered in decades of paint buildup that no longer reads as smooth.
- • A contractor or painter says the current wall isn't flat enough for the gloss or satin sheen, or the lighting plan, that's been chosen.
- • A renovation opens up a room, combines two smaller rooms into one, or updates a kitchen, and the new wall needs to disappear into the old one seamlessly.
Skim coating applies a thin, full-surface layer of joint compound across an entire wall or ceiling rather than just at the seams, which is what gets a surface to Level 5, the smoothest classification in the GA-214 finish system. Lynn Drywall & Plaster uses this both to bring new drywall up to a mirror-flat finish and to resurface old, wavy, or heavily patched plaster walls so they read as new construction. It’s a slower, more labor-intensive process than a standard taped-and-mudded wall, and it’s the right call whenever the finished surface will be lit or painted in a way that would expose anything less.
This service is for homeowners in Pine Hill and Wyoma renovating an established single or two-family who want their new drywall to blend invisibly with adjoining older plaster walls, and for anyone installing accent lighting, large mirrors, or high-gloss paint, where raking light exposes every seam and fastener dimple that a Level 4 finish would hide under flat paint. It’s also for owners of Diamond District Victorians replastering a room where decades of paint layers have made the original plaster surface too uneven to skim-paint over, and for buyers doing an open-concept renovation who are joining two rooms and need the seam where old and new wall meet to vanish completely.
What “Level 5” actually means
The Gypsum Association’s GA-214 standard defines six finish levels, from Level 0 (unfinished) to Level 5 (a full skim coat over the entire surface). Most residential walls in Lynn are finished to Level 4, where only the taped seams and fastener heads get compound. That’s fine under flat paint and average room lighting, but it fails visibly under raking light, gloss or satin sheens, or strong accent lighting, where every seam and screw dimple casts a faint shadow. Level 5 solves that by adding a thin skim coat of compound across the whole wall or ceiling, so the surface has one continuous plane instead of a patchwork of taped joints.
Old plaster is a different substrate than new drywall
A meaningful share of the skim coat calls in Lynn aren’t new construction, they’re homeowners in Wyoma and Pine Hill’s established housing stock trying to bring a decades-old plaster wall back to a smooth, paintable state. Original plaster walls here have usually absorbed layer after layer of paint over 70-plus years, which builds up texture and can hide hairline cracking underneath. Skimming over that surface without first addressing loose or cracked plaster just telegraphs the problem through the new coat. The substrate gets stabilized, whether that’s re-keying loose plaster into the lath or patching failed sections with drywall compound, before the skim coat goes on, so the final surface has something solid underneath it.
Where the seam between old and new has to disappear
Open-concept renovations, common in the two-family and triple-decker conversions around Lynn, often mean removing a wall between two rooms and joining old plaster to new drywall along that line. That transition is one of the hardest things to hide, because plaster and drywall take joint compound slightly differently and the old wall has decades of minor waviness the new wall doesn’t. A full skim coat across the joined wall, rather than just taping the seam, is what lets that transition vanish instead of reading as a visible line where the renovation happened.
Lighting drives the standard, not preference
Homeowners sometimes assume Level 5 is a luxury upgrade, but it’s really a functional response to how a room will be lit and painted. A wall going under a bank of LED can lights or facing a west window that rakes light across the surface in late afternoon needs the tighter tolerance. A hallway under a single flush-mount fixture usually doesn’t. The room’s actual lighting plan gets walked with the homeowner before Level 5 is recommended, rather than defaulting to it everywhere, since it’s slower and more labor-intensive than a standard finish and shouldn’t be applied where it won’t be seen.
Checking the work the same way the light will
The only real test for Level 5 flatness is raking light: holding a work light low and close to the wall at the end of each coat, which exposes anything a normal overhead fixture would hide. This check happens between coats and again at the end, because a flaw invisible under room light at 10am can be glaring under a reading lamp at night, and that’s exactly the standard the finished wall has to meet.
Materials & standards
Products & materials we use
- USG Sheetrock
- CertainTeed
Standards & codes we work to
- GA-214 finish levels (Level 0-5)
What the terms mean
- skim coat
- Level 5 finish
- raking light
- flashing
- mud and tape
- joint compound
Options & variants
| Option | When it applies | Cost |
|---|---|---|
| Level 5 skim on new drywall | New construction or addition going under gloss paint, accent lighting, or a mirror wall | Higher labor than standard Level 4 finish |
| Full-wall resurfacing skim over old plaster | Existing plaster is wavy, cracked, or over-painted but structurally sound | Moderate to higher, depends on prep needed |
| Partial or blend skim at a room-to-room seam | Joining old and new wall sections in an open-concept renovation | Localized, priced to the transition area |
What affects cost
- • Square footage of wall or ceiling being skimmed, since it's a full-surface application, not spot work.
- • Condition of the existing surface, since heavily textured, cracked, or multiply-patched plaster needs more prep before the skim coat goes on.
- • Number of coats and sanding passes required to hit true Level 5 flatness.
- • Lighting conditions in the finished room, since a wall under a bank of can lights or south-facing windows demands a tighter tolerance than a hallway.
- • Whether the work is new construction, a cleaner substrate, or an old-home resurfacing job with an unpredictable substrate.
What to expect
- 1
Assess the surface
The crew assesses the existing wall, whether it's new drywall, old plaster, or a mix, and identifies any structural issues before skimming over them.
- 2
Repair before skimming
Cracks, holes, or loose plaster sections are repaired first, since a skim coat isn't a structural fix.
- 3
Apply the first full-surface coat
A thin, full-surface coat of compound goes across the entire wall or ceiling, not just the seams.
- 4
Cure, sand, and build up coats
Each coat cures, then gets sanded before the next, building up to a true flat plane.
- 5
Check under raking light
A work light held at a low angle checks the surface for anything normal room light would miss.
- 6
Fine-sand and prime
A final fine-sand and prime leaves the wall ready for paint.
When this isn’t the right call
- If the wall just has a few nail pops or a small crack and isn't going under special lighting or high-gloss paint, drywall repair and patching is the better fit.
- If the ceiling has an old textured finish that needs removing before anything else can happen, popcorn ceiling removal is the better fit.
- If the underlying issue is failing lath-and-plaster rather than a cosmetic finish problem, plaster repair and conversion is the better fit.
Frequently asked questions
What's the difference between a normal drywall finish and Level 5? +
A normal finish, Level 4, mainly treats the taped seams. Level 5 adds a thin skim coat across the entire surface, which is what eliminates flashing and seam-shadowing under strong or raking light.
Do I need Level 5 everywhere in my house? +
No. It's worth the extra cost in rooms with accent lighting, gloss paint, or large mirrors. A hallway or closet under standard flat paint rarely needs it.
Can you skim coat over old plaster instead of tearing it out? +
Often yes, if the plaster is structurally sound. Cracks and loose sections get repaired first, then the whole surface is skimmed so it reads as new.
Will skim coating fix a wavy or bowed wall? +
It improves the surface finish, but it won't correct significant structural waviness in the framing or lath behind it. You'll get an honest read if the underlying wall needs more than a skim coat.
How many coats does a Level 5 finish take? +
Typically multiple thin coats with sanding between each, more than a standard taped wall, which is why it's priced and scheduled as its own scope.
How long before I can paint after a skim coat? +
Once the final coat is sanded smooth and primed, it's ready. The cure between coats isn't rushed just to hit a shorter timeline, since that's what causes shrinkage cracks later.